Page Visuals Tab
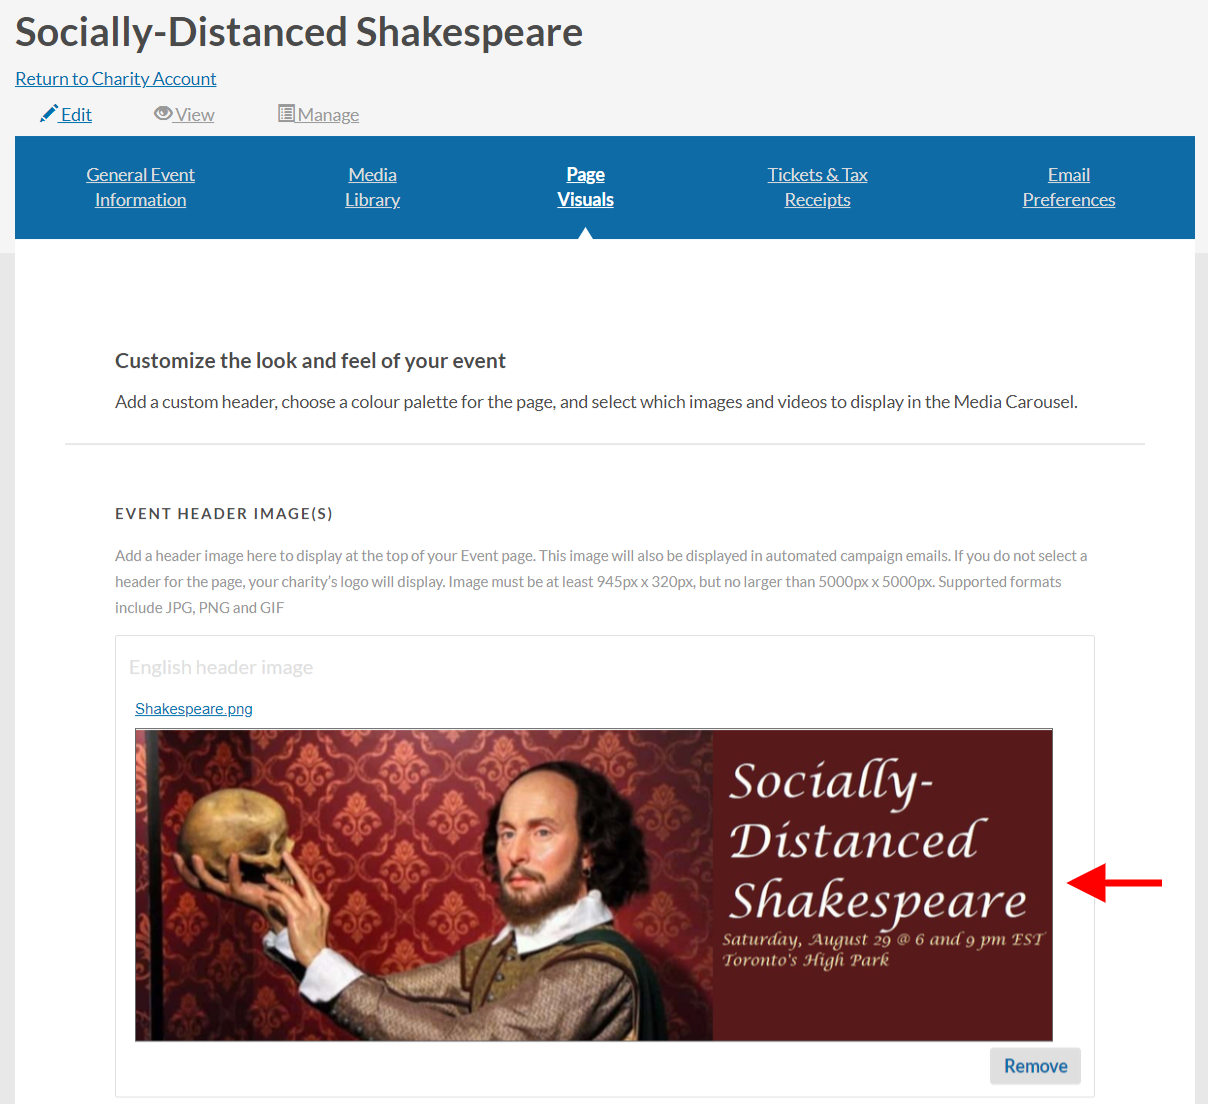
1. Upload an Event Header image to display across the top of your ticketed event page. If you don’t select a page header, your charity’s logo will display instead.
NOTE: Image must be at least 945px x 320px, but no larger than 5000px x 5000px. Supported formats include JPG, PNG and GIF
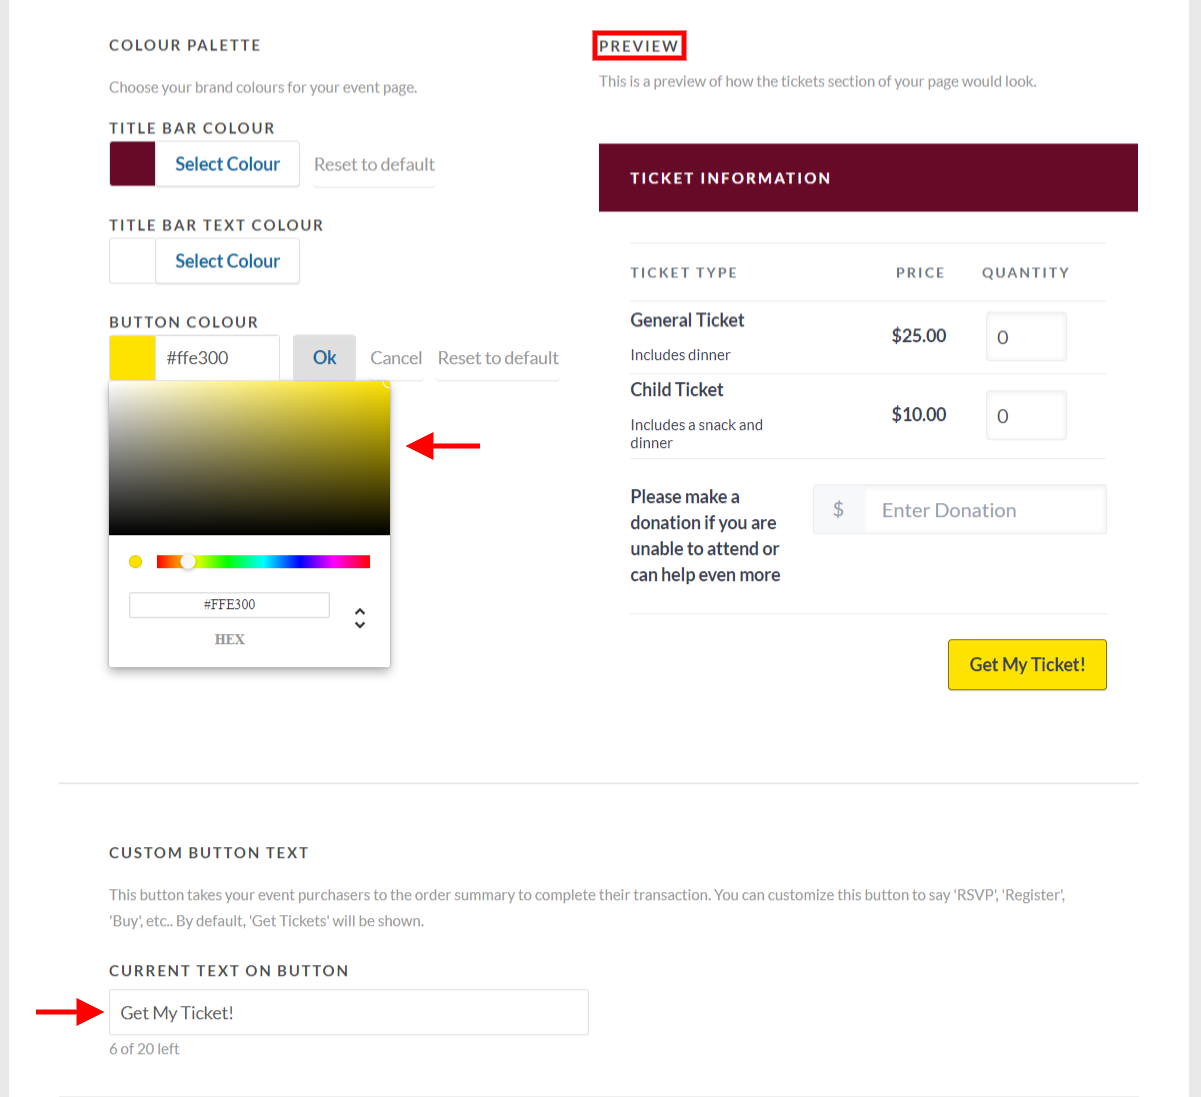
2. Use the colour palette to customize the branding of your event page.
TIP: Choose the exact colour code that matches your charity’s website and/or the branding of your specific event.
3. Customize your event page’s call-to-action button text.
TIP: You can use this feature to solicit memberships and sell items!
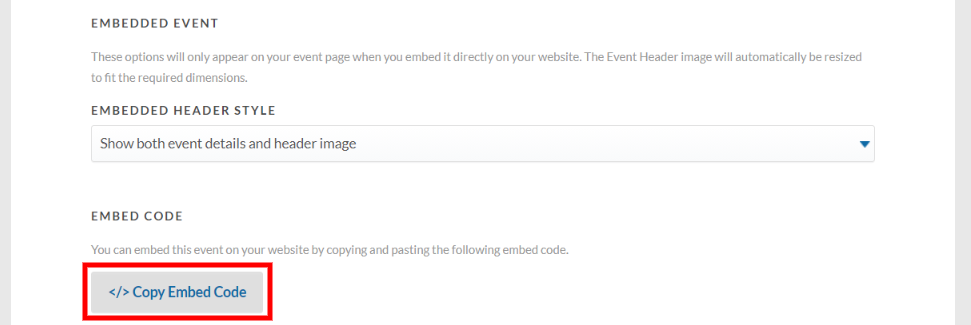
4. If you’ll be embedding your event page right into your website, decide if you’d like the header image and event details to show on the embedded page
a) Click on the “Copy Embed Code” button to copy the ticket page’s embed code to your clipboard.
b) Paste this code into the HTML file of your website (i.e., where you go to make changes to your site).
TIP: If you don’t make changes to your website yourself, you can copy and paste this code into an email to your web designer who will easily be able to embed the event page for you.
5. Select from the images/videos you’ve previously uploaded into your Media Gallery tab and use them to add a media carousel of images and videos that provide useful event information (e.g., a map), display sponsor logos, showcase images from a past event, and more.
TIP: Images and videos are effective ways to inspire potential ticket purchasers. For best results, add at least four items to your media carousel.
Images not loading? Contact us and we’ll give you a hand!

—-> Learn about the Tickets and Tax Receipts tab