Creating a Paid P2P Campaign
1. Create your Peer to Peer campaign by following the steps provided in our article here.
2. Once you have created your peer to peer campaign, navigate to the Events tab and select ‘Create New Event’.
Events is another fundraising tool provided by CanadaHelps that allows charities to facilitate in-person/online events by selling tickets online. The purpose of this step is to create the tickets that are to be sold for your campaign!
TIP: Because P2P participants only see the Ticket Information box during signup (see example here), only fill out the required fields in the ‘General Event Information’ and ‘Tickets & Tax Receipts’ tabs when creating your event. Skip over the ‘Media Library’, ‘Page Visuals,’ and ‘Email Preferences’ tabs.
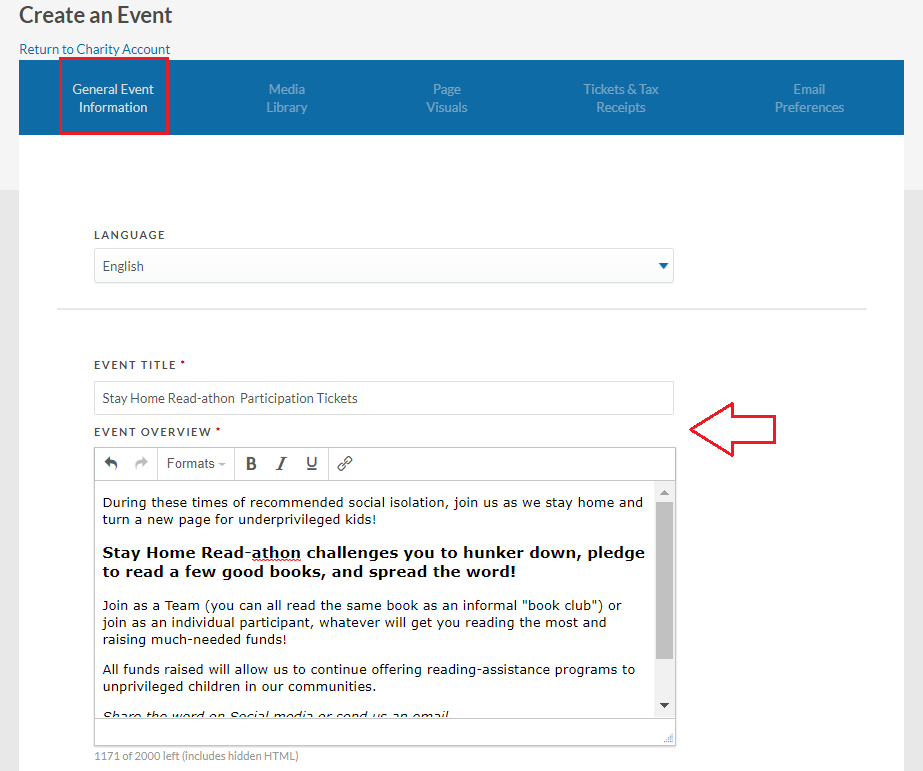
General Event Information
REMINDER: Fill out only the required fields in this section.
1. Add some text into the Event Overview Box.
TIP: Copy and paste some text from your P2P campaign page here!
2. Select a Fund from your existing Funds or create a new fund.
TIP: For consistency and ease, use the same Fund you’ve created for your P2P campaign.

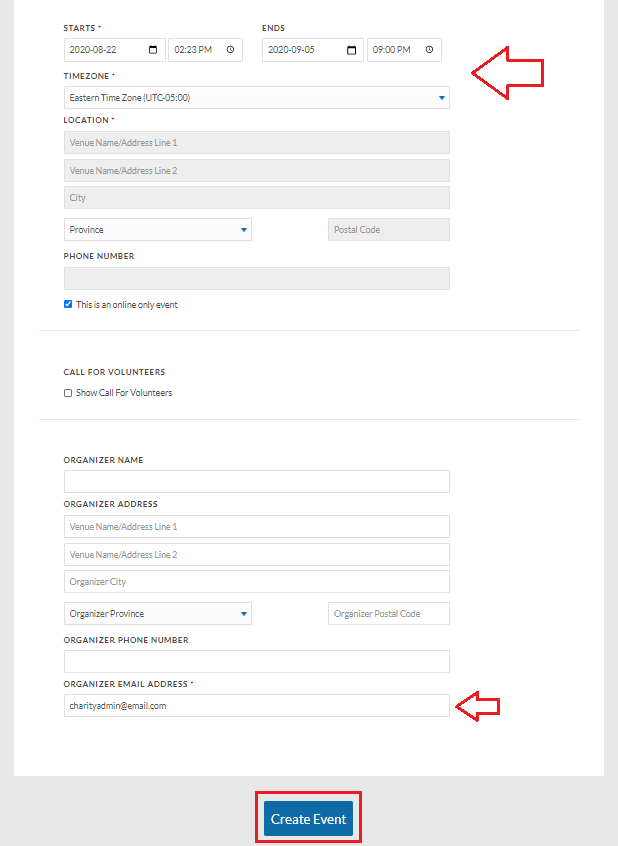
3. Give your event a start date (TIP: Use the same start/end date as your P2P), a time zone, and a location (if your P2P campaign is not virtual).
4. Add an organizer email address (TIP: Can be the same support email from your P2P campaign) and click the ‘Create Event’ button.
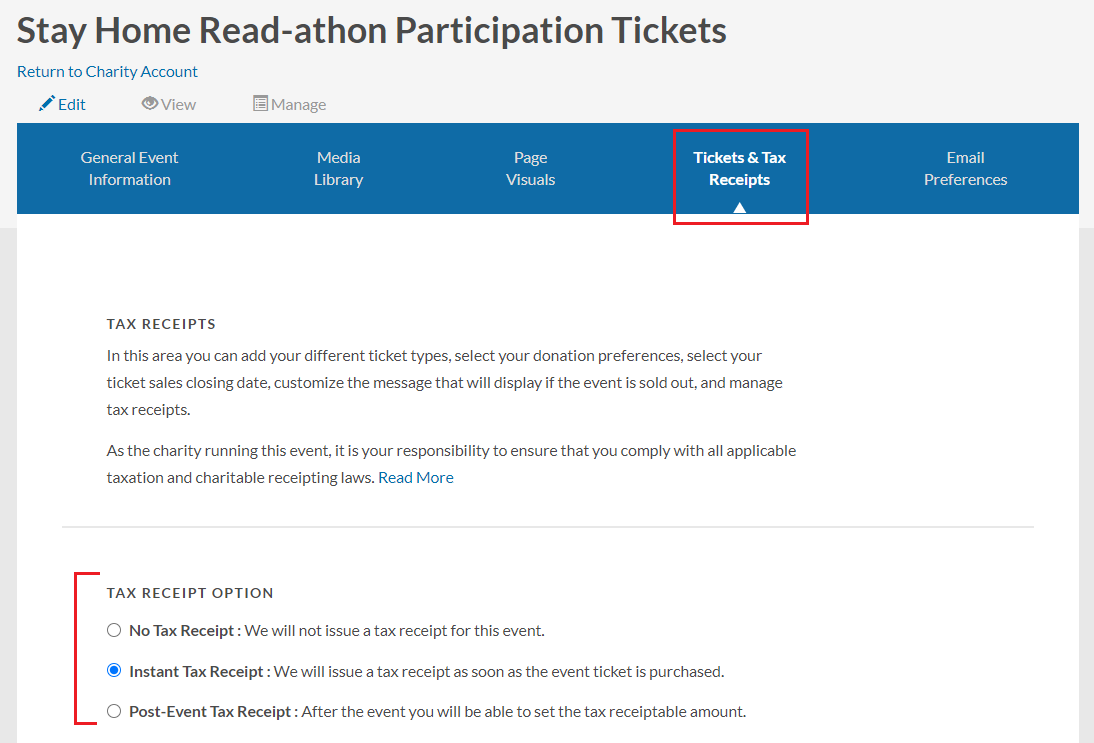
Tickets and Tax Receipts
This is where you create your P2P campaign’s registration ticket/s.
REMINDER: Due to the nature of the paid P2P payment flow, skip over the following subsections when you are in this tab: Donations, Sold Out Message, Attendee Information, Purchaser Information, Promotional Codes (not applicable to paid P2P).
1. Decide whether or not you will be issuing a tax receipt for campaign participation tickets.
TIP: Learn more information about charitable receipting and taxation laws.
2. Upload an image of the signature of a representative from your charity authorized to sign charitable tax receipts.
3. Upload an image of your charity’s logo as appears on your charity’s tax receipts.
NOTE: Both of these steps are required even if you will not be issuing tax receipts for P2P registration tickets.
![]()
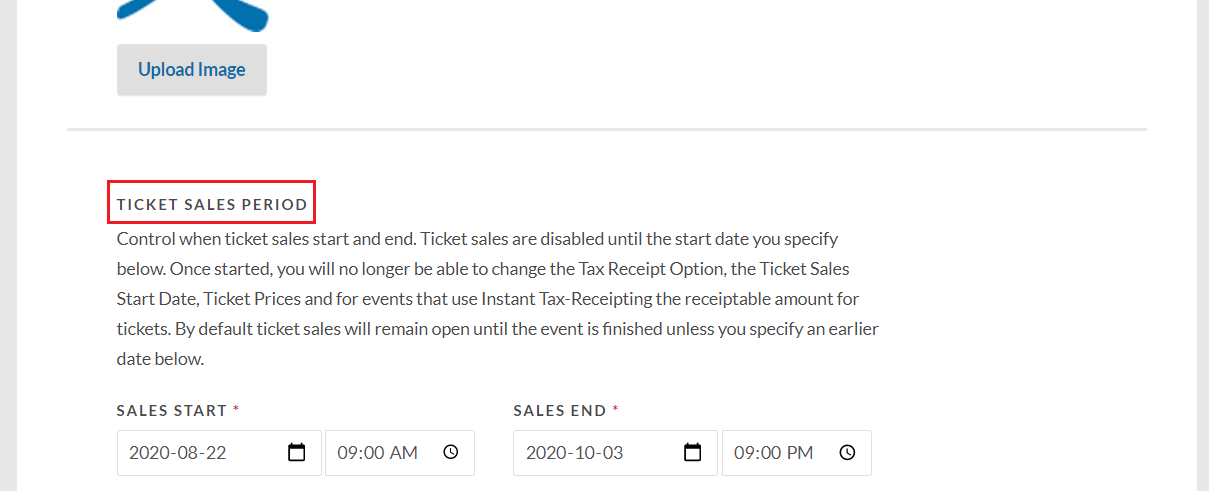
4. Set a date for when registration ticket sales start and end. Your P2P campaign will not show tickets in the signup flow until the start date you specify here.
TIP: This will likely be the same start/end dates as your P2P campaign.
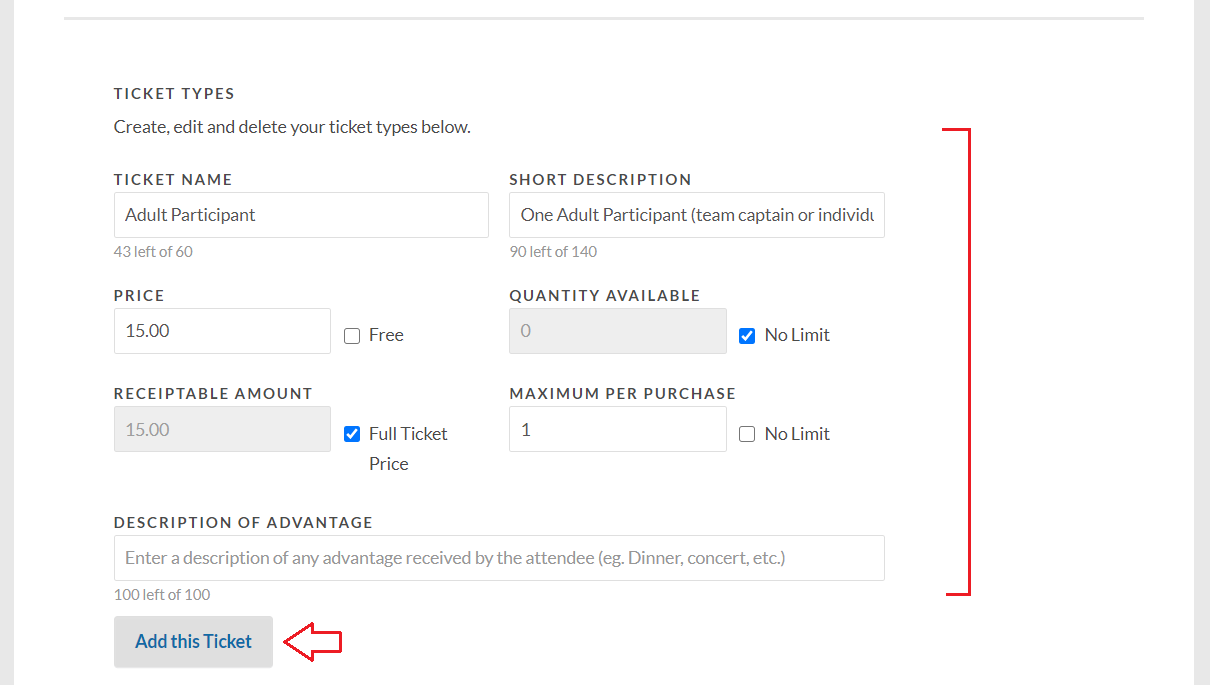
5. Scroll down directly to the Ticket Types subsection. Fill out the appropriate fields for your P2P campaign’s registration ticket/s and click ‘Add this Ticket’.
TIP: If you’d like to ask a Custom Question of your P2P registration ticket purchaser, use the Custom Fields in your P2P campaign instead.
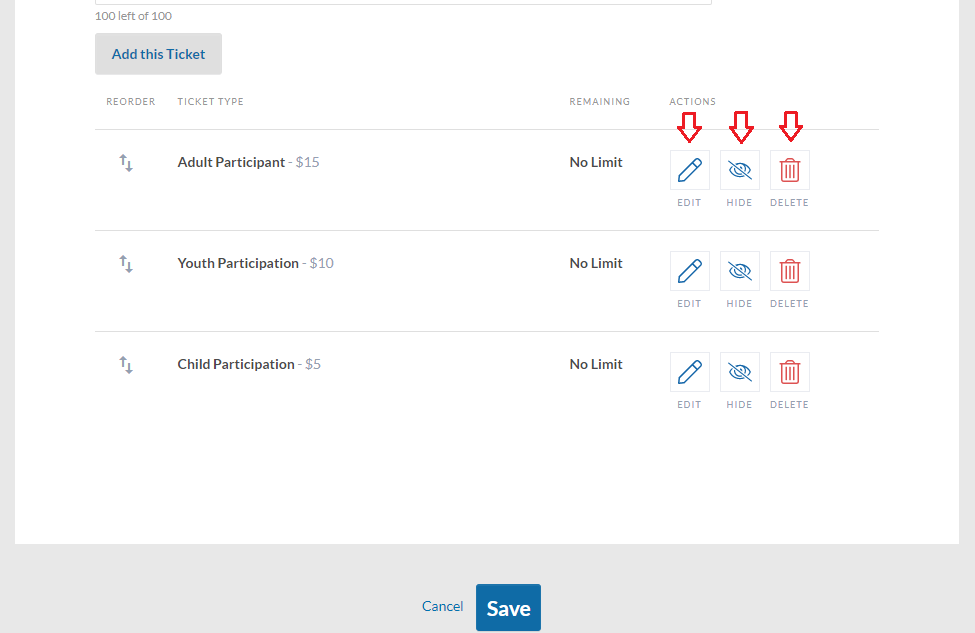
6. Once added, you’ll see all P2P registration tickets listed at the bottom of your screen, where you can Edit, Hide or Delete them as needed.
Once you have created your event, simply send us an email at info@canadahelps.org with a request to “link” your peer to peer campaign with your ticketed event and a member on our team would be happy to help and send you email confirmation as soon as it’s been done!
For a complete demonstration of the registration process for Paid Peer to Peer, please click here.