Page Visuals Tab
1. Upload a Page Header image to display across the top of your campaign page, in automated campaign emails and across the top of the campaign sign-up page.
NOTE: If you don’t select a page header, your charity’s logo will display instead.
TIP: Image must be at least 1920 x 701px, but no larger than 5000px x 5000px. Supported formats include JPG, PNG and GIF. View the image guidelines.

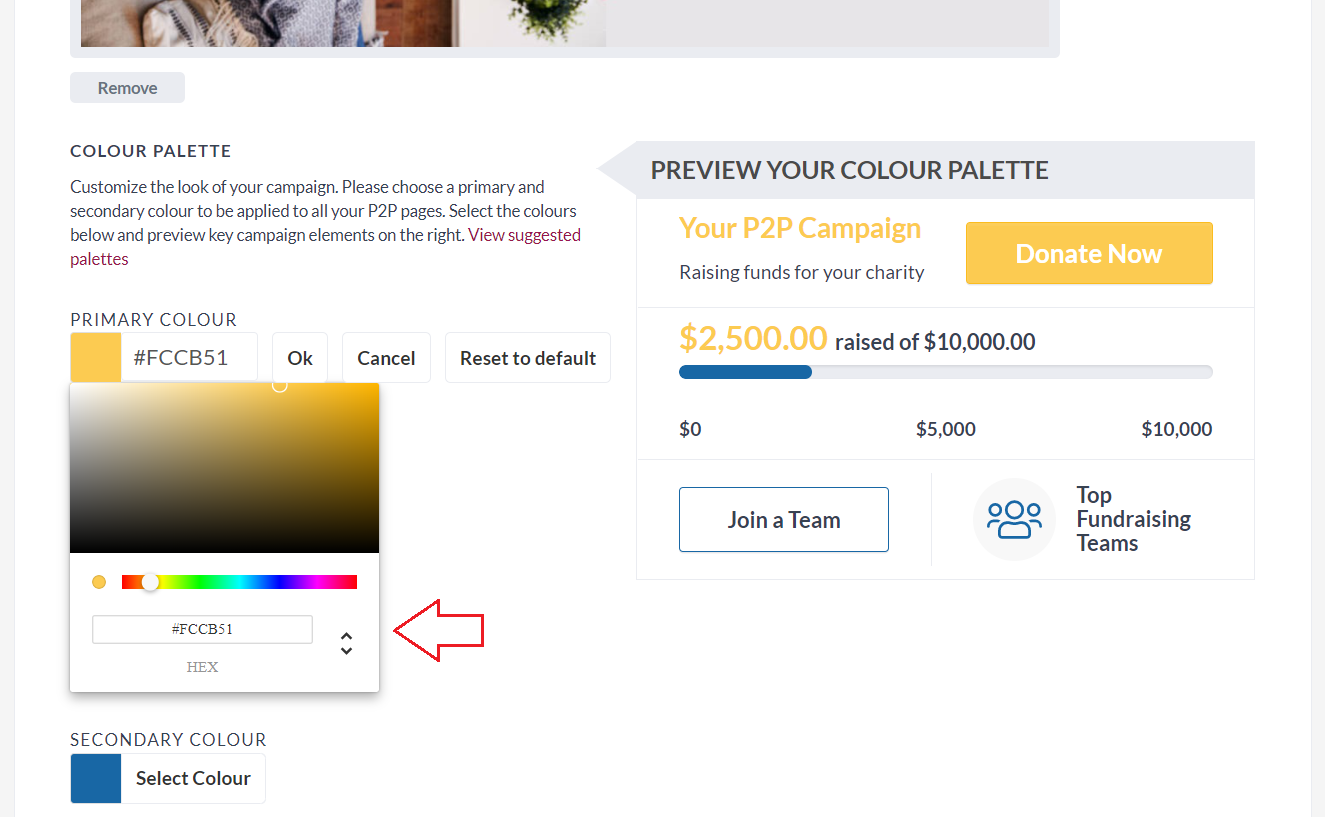
2. Use the colour picker to select the main two colours of your P2P campaign and check out the Preview section to see how it’ll look.
TIP: Use a free colour picker tool to grab and match the exact colours of your website or branding.
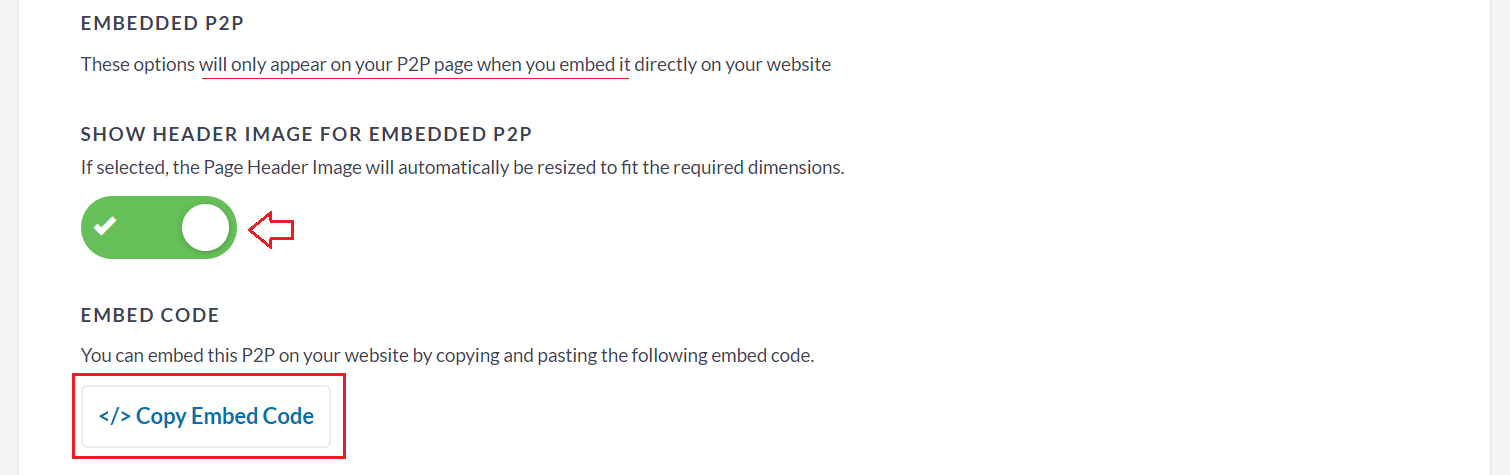
3. If you’ll be embedding your P2P campaign into your website, decide if you’d like the header image to show on the embedded campaign
a) Click on the “Copy Embed Code” button to copy the campaign’s embed code to your clipboard.
b) Paste this code into the HTML file of your website (i.e., where you go to make changes to your site).
TIP: If you don’t make changes to your website yourself, you can copy and paste this code into an email to your web designer who will easily be able to embed the P2P campaign for you.
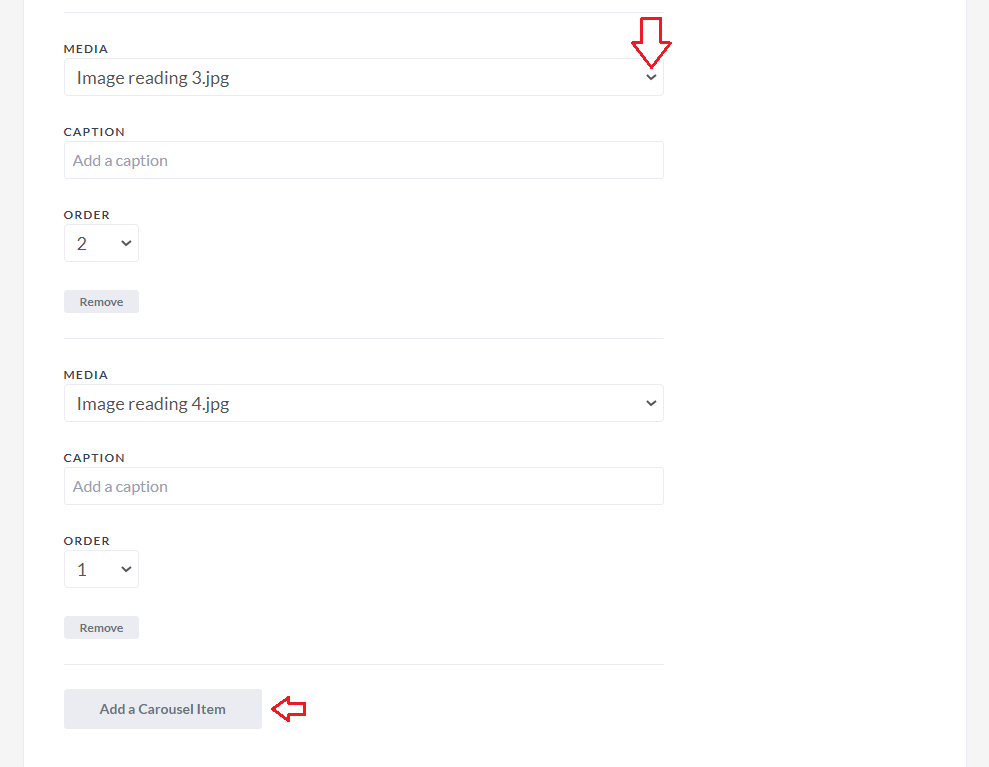
4. Select from the images/videos you’ve previously uploaded into your Media Gallery tab and use them to add a media carousel of images and videos.
TIP: A media carousel can help tell the story of your campaign, encouraging potential participants to sign up and potential donors to give! For best results, add at least five items to your carousel.