General Event Information Tab
1. Choose the language settings for your event.
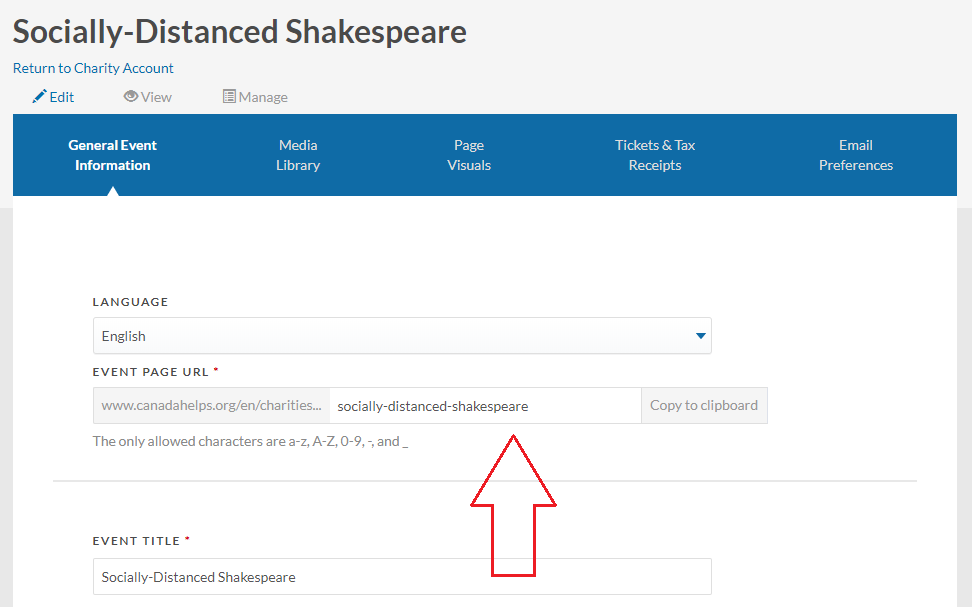
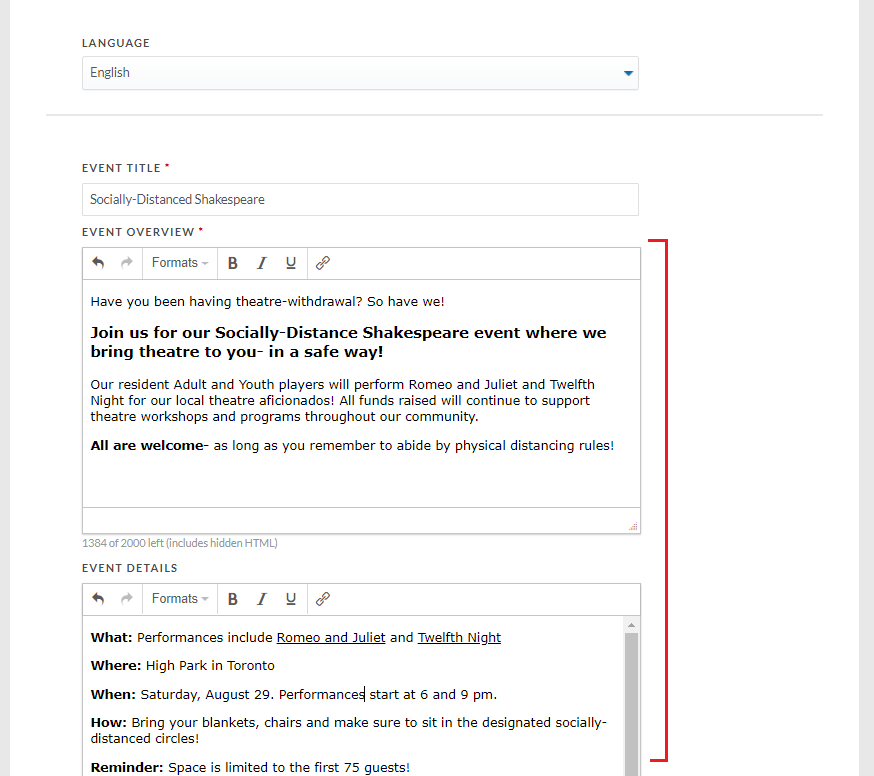
2. Give your event a name in your selected language/s
NOTE: When you Save for the first time, the system will create the event’s URL based on the event name. You can then edit the event URL.
3. Complete the Event Overview section with details about the ticketed event and/or about your charity.
TIP: What’s the event all about? Why are you hosting it? Tell potential attendees just how important this event is to your charity!
4. Complete the Event Details section to add, perhaps more specific/ technical details about the event.
TIP: Is there anything important the attendees/purchasers should know before purchasing a ticket?
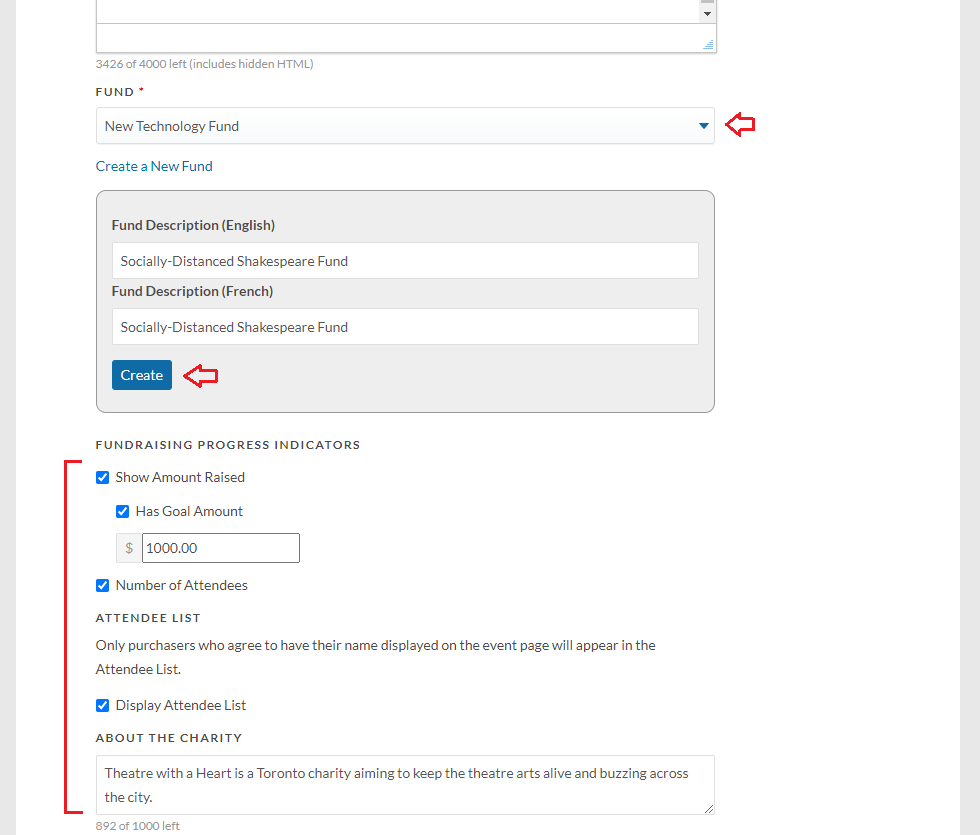
5. Assign a specific Fund to your ticketed event, so that all ticket purchases and donations made through this event are assigned to this fund in your donation reports.
TIP: Assigning a specific fund to your ticketed event will make reporting/ allocation of funds easier down the line! Don’t have a designated fund for your event? Create one on the spot!
6. If applicable, add a goal amount and progress bar for your ticketed event
TIP: Adding a goal amount can help encourage individual participation and donations!
7. Toggle on a real-time total attendee count and decide if you’d like to display a list of attendee names and number of guests at the bottom of the event page
NOTE: Purchasers can choose to remain anonymous.
8. Write a short summary about your charity that will appear along the right-hand side of your ticketed event.
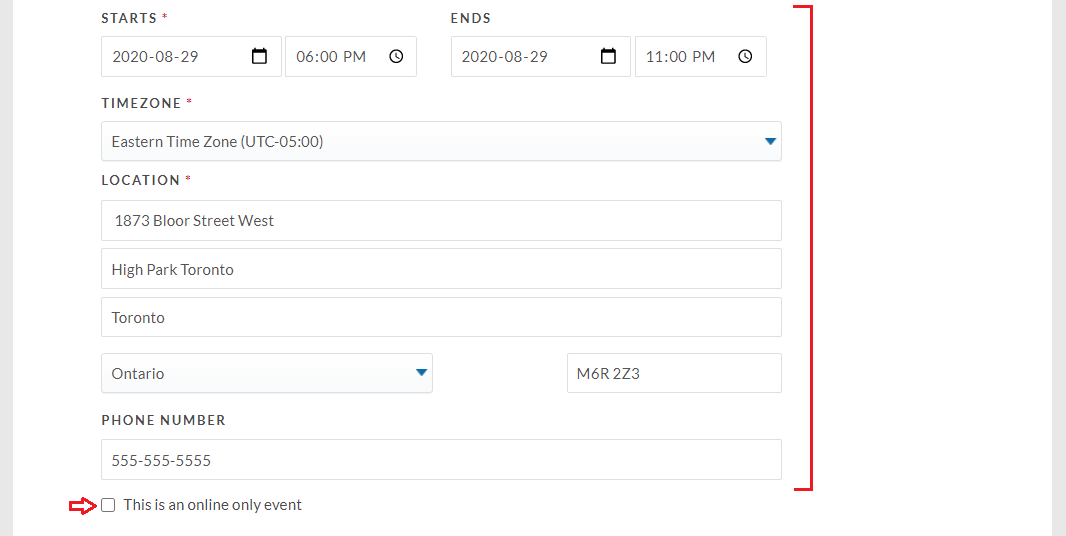
9. Set a start and end date for the event itself, add a location (if event is not virtual) and a support phone number for your purchasers.
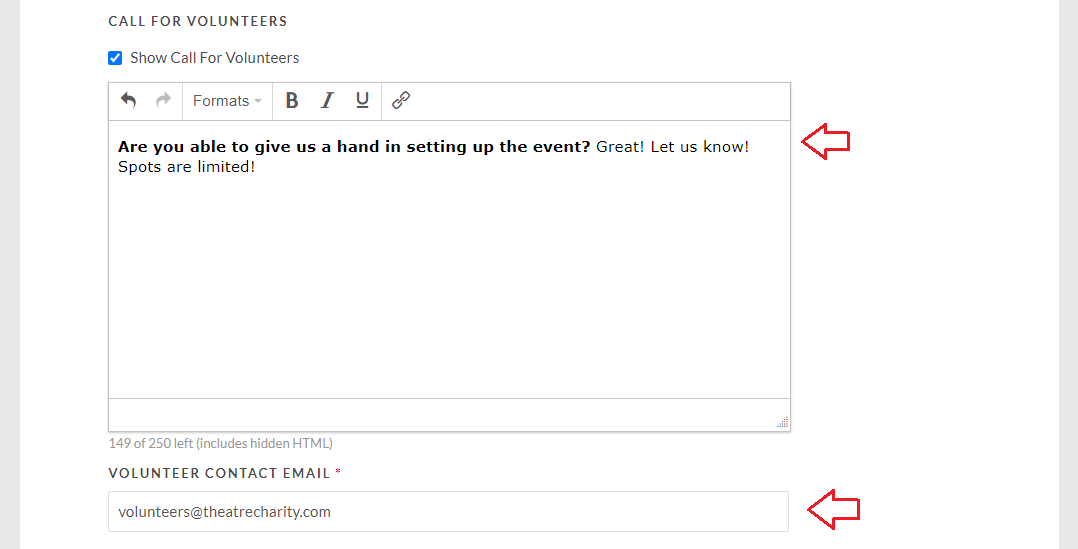
10. Do you need to recruit volunteers for the event? Include a customized call to volunteers and an email they can contact.
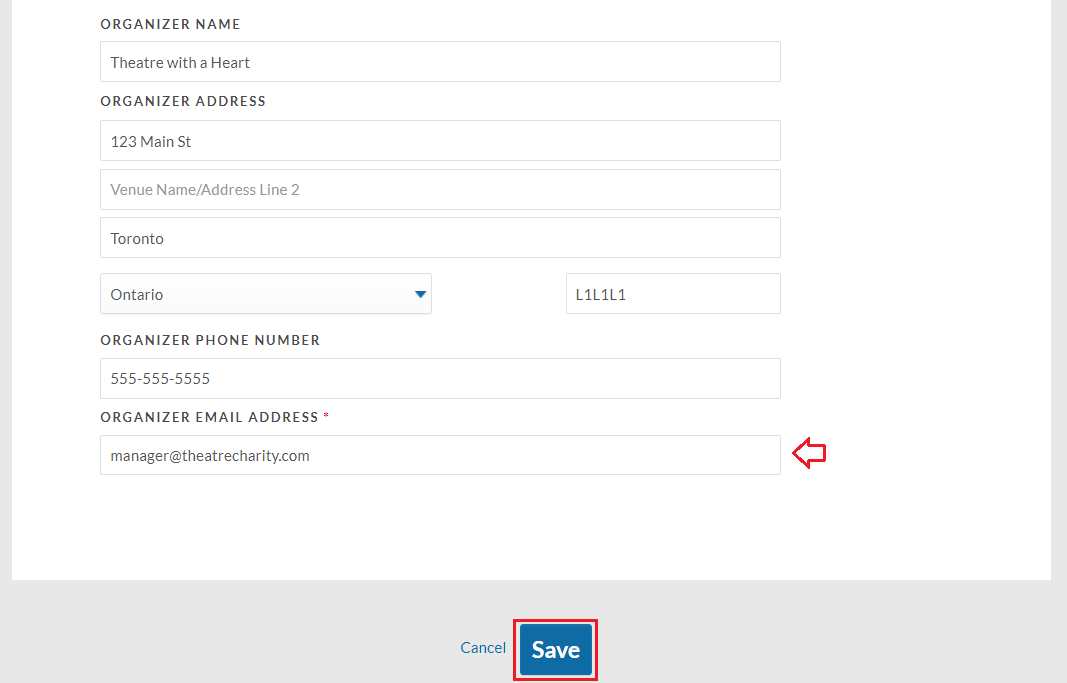
11. Is the event organizer a third party, or is it simply your organization? Add specific organizer details and an email address that will appear along the right-hand side of your ticketed event (or at the bottom if embedded). When you’re done, click ‘Save’.
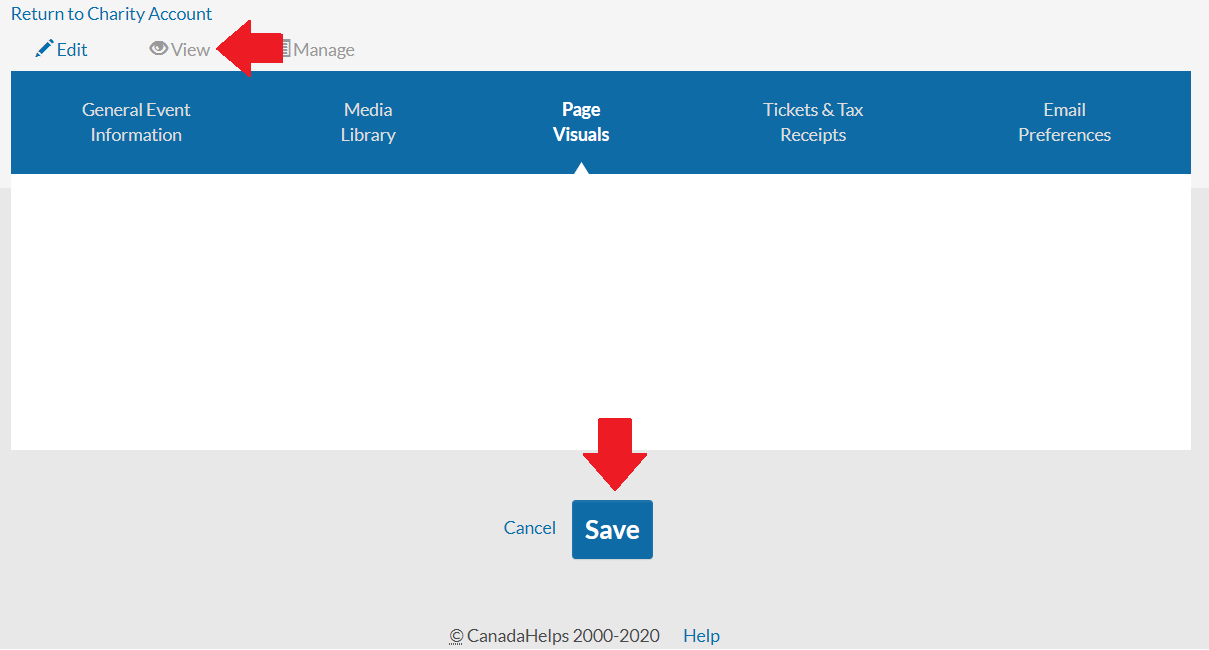
TIP: Before continuing on to the next tabs, use the ‘Save’ and ‘View’ buttons to save as you go, and see the progress of your work!
—> Learn about the Media Library tab